Hi there!
It’s the oh so wordy Wilhelmina – call me Mina – Hinchcliffe here to help you set up your first steeple course.
Oh – or you could watch this fancy flash slideshow that goes through the same process while you follow along.
To utterly rip off Douglas Adams, Don’t Panic! We’ve made this just about as simple as possible, and I’ll go into lots of detail. If you run into anything that doesn’t make sense you can contact us in world and we’ll be happy to try and clarify things.
So first off what makes up a steeple course? At a minimum you need one start/finish line and one hurdle – though that won’t be much of a challenge. You will probably also want a score board it’s not absolutely necessary.
For the moment we’re going to concentrate on the hurdles since that’s where most of the work comes in. Get the hard parts done first then relax on the veranda with a nice adult beverage, amirite?
Let’s start with a very small course to practice with. Pick an area about 30 meters square for our practice course and put on the Course Builder HUD.
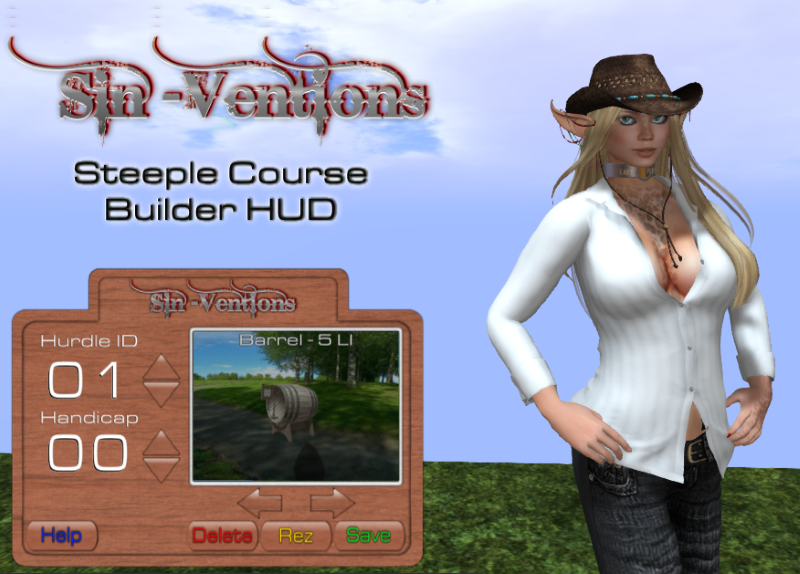
“Why is there a course builder HUD? Can’t I just dump everything out on the ground and take it from there?” you’re probably asking. And yes, you can, but at the time of this writing we’ve got 13 different varieties of hurdle in the steeple kit. Plus start lines and four variations of score boards. It’s kind of a lot of stuff and dumping it out on the ground gets thing cluttered and confusing fast.
Also the HUD has some handy configuration functions that will help make your job easier, and also it’s just damn neat 🙂
So explanations out of the way, let’s get started by wearing the Course Builder HUD and doing some initial Course Settings.